Things are busting out all over
(Time to expand the reach of this machine)
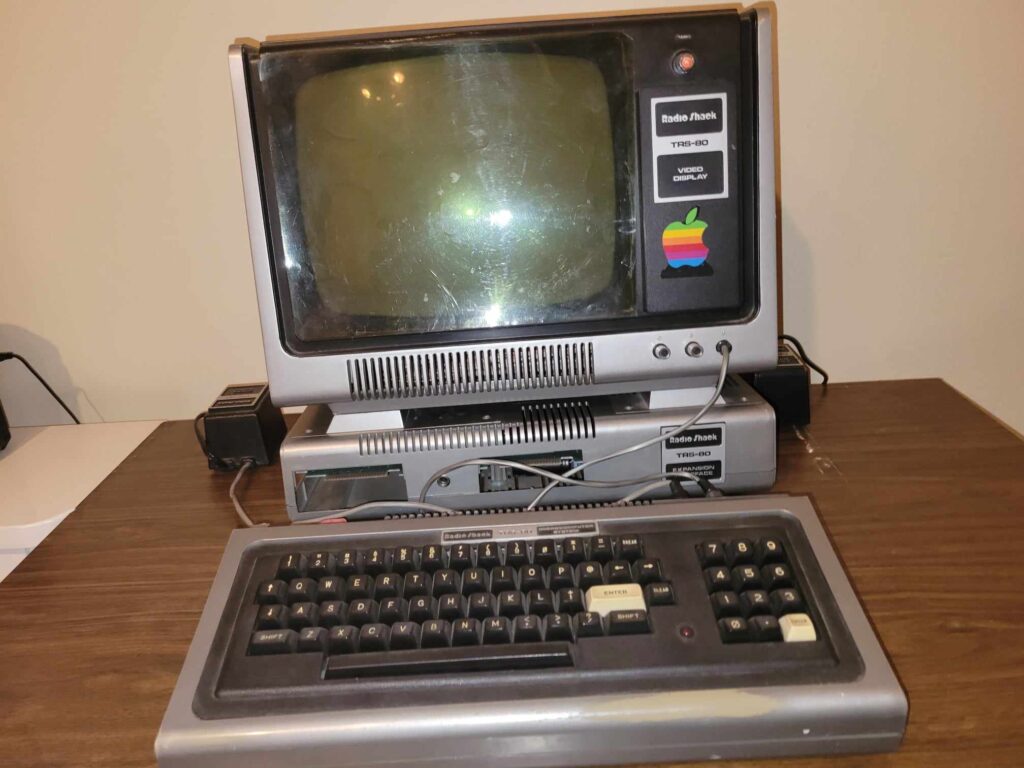
Time to Interface for Expansion
With the base tested using the universal method for ensuring a properly functioning system –
10 PRINT "HELLO WORLD! ";
20 GOTO 10
and having it work, its time to focus on the Expansion Interface. I had 3.
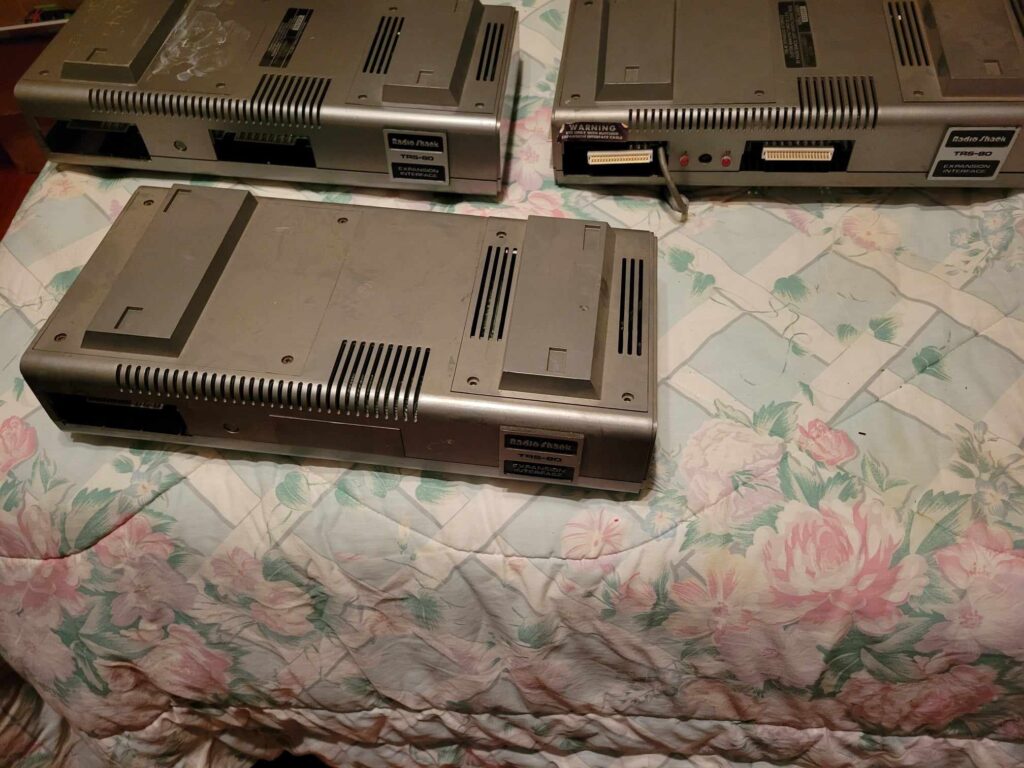
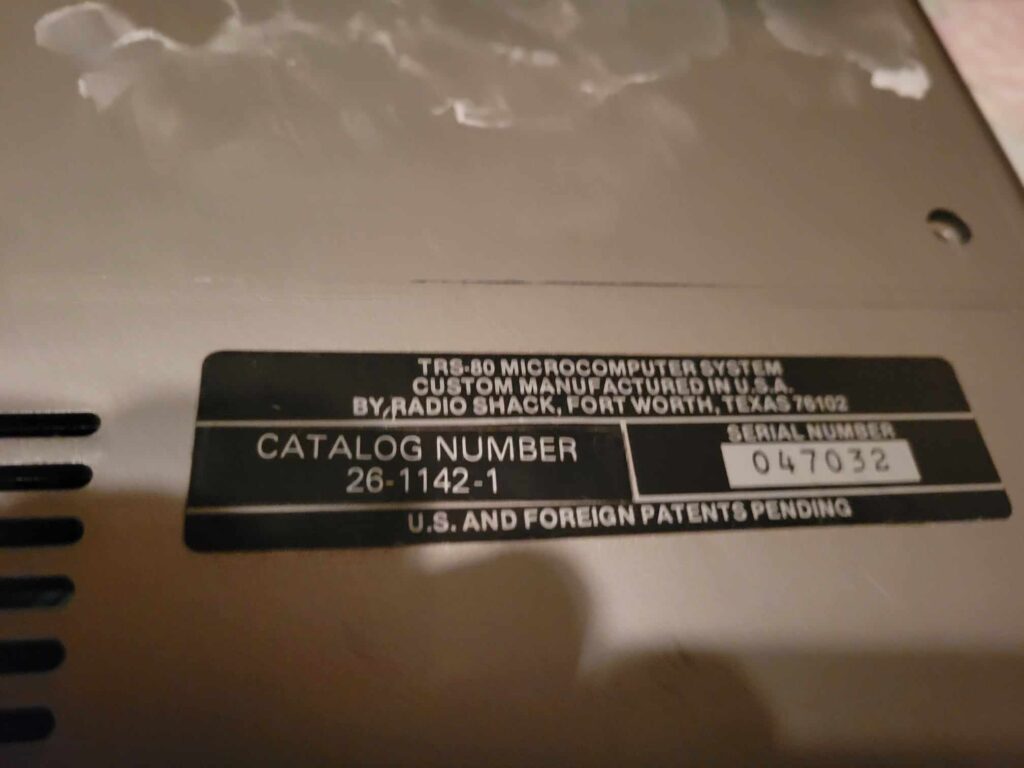
I was definitely able to rule out the top right one, that has a cable I’ve only seen with one of the other Model I systems I had as spare. The one in the front doesn’t have a serial number, something I knew mine would have had. So, top left it is.
Another cleaning montage
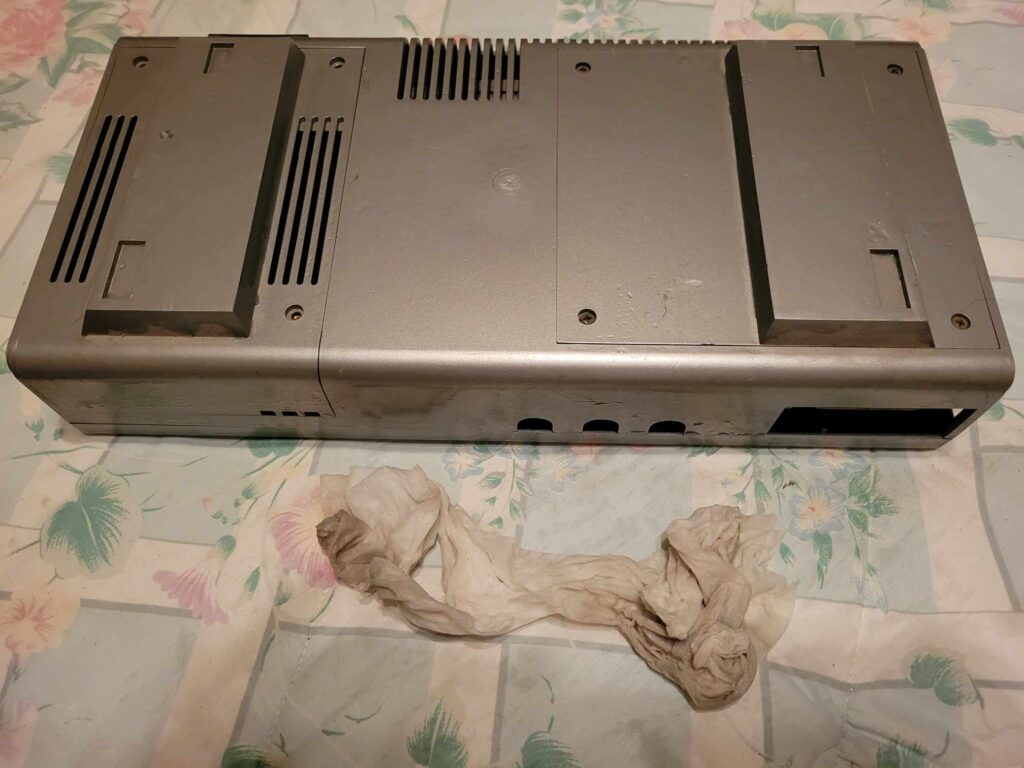
Another opportunity for my cleaner, some soapy water for the case. However, on this one, I didn’t do so well packing it for 40 years of slumber, so it was pretty dusty inside (Even in a climate controlled storage area). I took it apart, and started cleaning it all up.


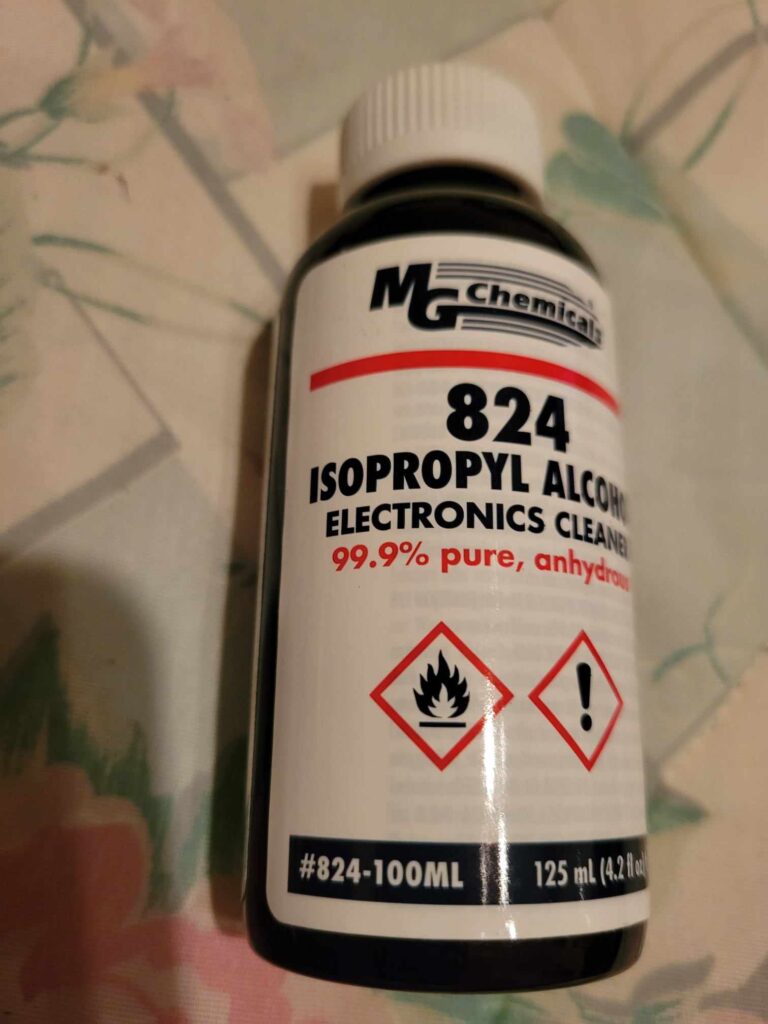
How to clean up electronics
(And no, its not soap and water). Now I was at the point I needed a cleaner to help me get surface dirt off much of the internal electronics, as well as cleaning up the card edge connectors. I did a bit of research and heard things like brake fluid (YES, like the type for cars) and was thinking that someone wanted to have a good laugh at my expense. Just before I hit the “PURCHASE” button (Ok, yea, I was going to give it a try) I thought I should look around more. Fortunately, I did.
It turns out that this isn’t such a mysterious art. They say to use 99.9% Isopropyl Alcohol. I was able to buy a bottle of it without having to get on any watch lists
I then used some cotton balls and cotton buds on a stick (don’t want to get accused of copyright issues) to clean the surfaces. The buds did a good job inside, but it was the card edge connector that was my biggest fear. And rightfully so. It took 4 cotton balls before the first one stopped being anywhere dirty.
(CAUTION – THE FOLLOWING IS NOT FOR THE FAINT OF HEART!!)
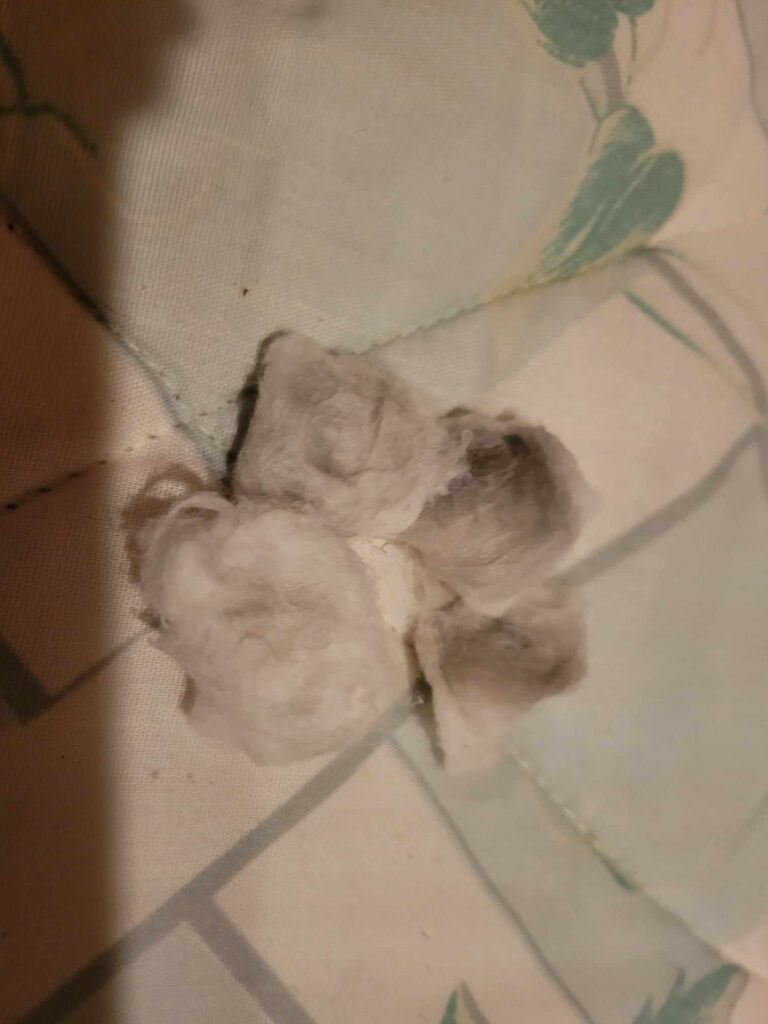
I think I went through a few dozen cotton bud sticks, and just as many cotton balls. Did a good enough job. Put everything back together, and put it under the monitor.
and now I just need to ….. oh, wait, something is missing. Looks like the cable needed between the EI and the keyboard unit. I actually had this, but I was worried about the connector having issues, the plastic on the wires being bad, etc. So, in the first “Non-original” piece of equipment I had bought a cable off eBay. It looked just like my original, couldn’t tell. So in it went.
Now is the time for all great computers to come back to life
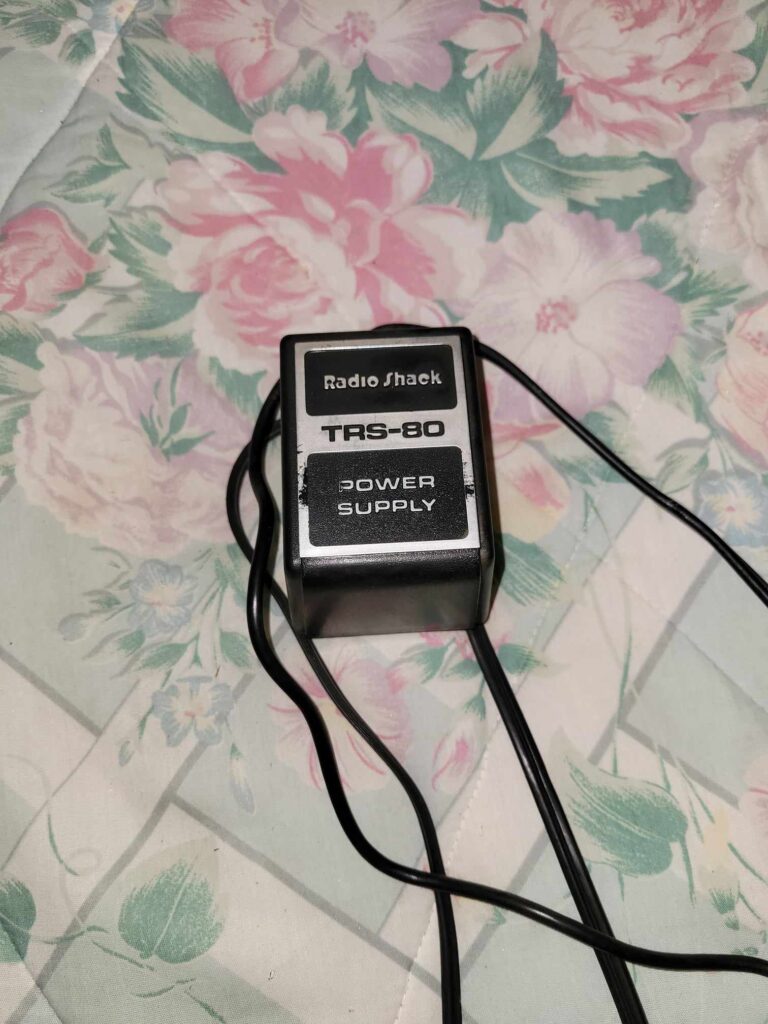
I didn’t mention it before, but I did at least checked the Power Supply to make sure it was giving the right voltages. It was within tolerance. Otherwise, another “test in production” instance. I was a bit concerned that my Model I unit could be damaged. I thought to swap to another keyboard, but what if that unit had issues and blew the Expansion Interface. No win situation. So, again, crossing everything I turned on the screen, the Expansion Interface, held my breath and turned on the main unit. AND
Ok, ok, its a first try. Turn the unit off and back on.
AND SAME THING. My heart beats faster, my brain races, my palms sweat. Ok, once more, 3 times a charm they say!
AND SAME THING. UGH. FAIL. SERIOUS SERIOUS FAIL.
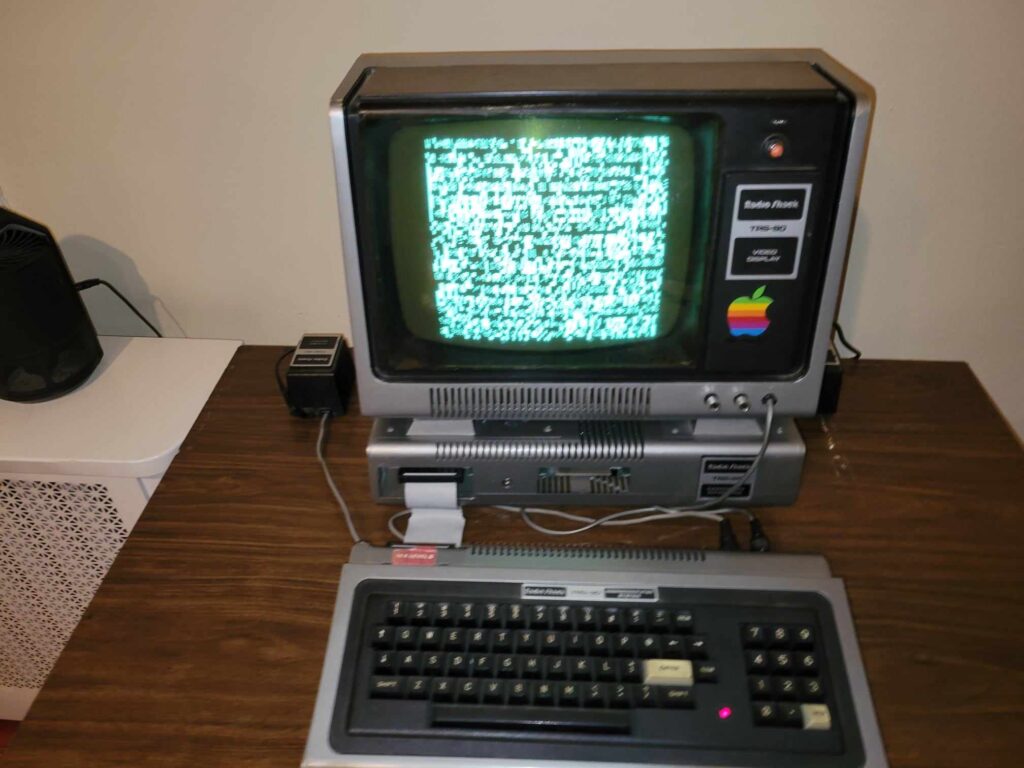
Ok, so I know this isn’t standard, but I shut it all down. I turned on the monitor and the main unit. It was fine. I then turned on the Expansion Interface. Well, that wasn’t so bad. Lets see –
>PRINT MEM
 48340
Ok, so it sees it, and sees all the memory in there. Thats a beginning. I spend the rest of the day trying everything I can. Nothing I do gets me a memory prompt.
And now its time to admit defeat
There we go. It took the Expansion Interface to defeat me. I really can’t believe I got this far on the rebuild without more issues, but I’m also dreading the fact that I need to start thinking how to go about repairing it. Started to Google around, read other peoples blogs and things on checking and repairing. Started compiling the list of items I’d need. Low end scope, better multimeter, logic analyzer (I thought I was the logic analyzer) and the list and costs started adding up.
I started to contact people who might be able to do it for me. Check against the manuals to see if maybe I had a bad chip, bad capacitor, etc. The biggest response I got was that people weren’t really big on Model I’s since they were a L-O-T harder to debug and repair. I was starting to feel that maybe I bit off more than I could chew (And I’ve got a really big mouth). I decided to give up for the night.
The sun, it rises on a new day
A new day dawned, and maybe things would change. I was reading an Expansion Interface manual when I noticed something on page 8.

You gotta be <CENSORED> me
Yup, that was it. I wasn’t used to having the disks not on the machine so completely blanked. So I turned on the monitor, the Expansion Interface, pressed BREAK and closed my eyes and turned on the main unit power
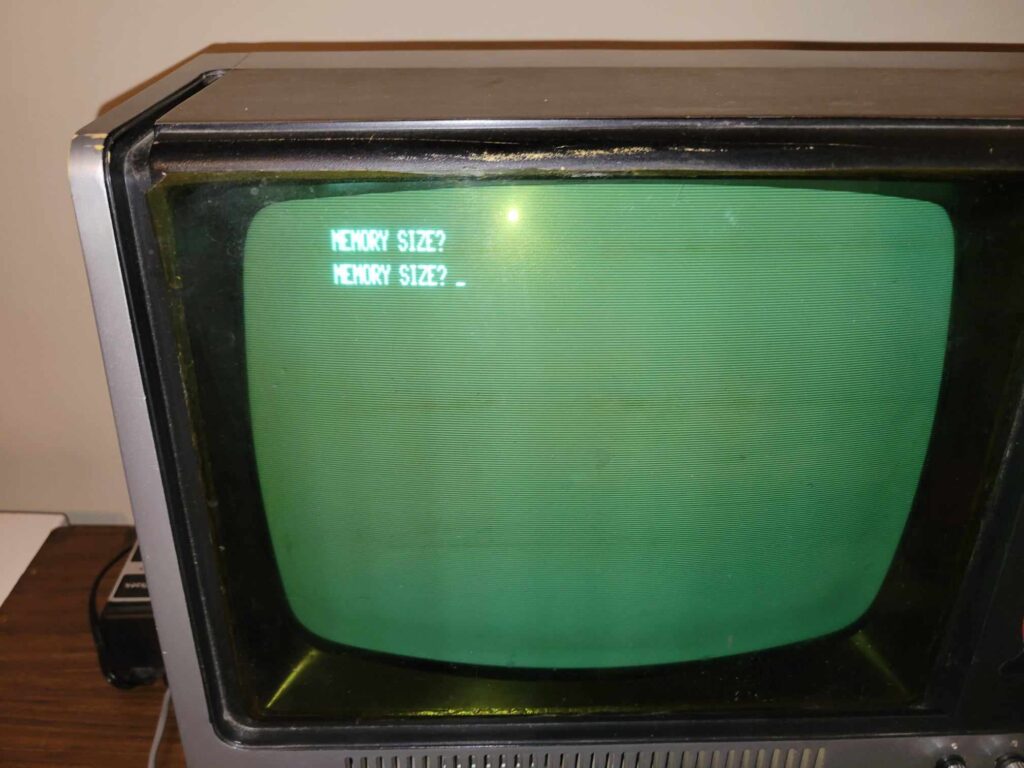
That was encouraging. I printed the memory, and it was the same number. So I ran the definitive test of a machine working, AND HELLO WORLD RAN BEAUTIFULLY!
We’re five for five
Looks like I’m batting 1000, five things cleaned up and assembled, five things working. After that, I need a diversion. So continue to see what I did.